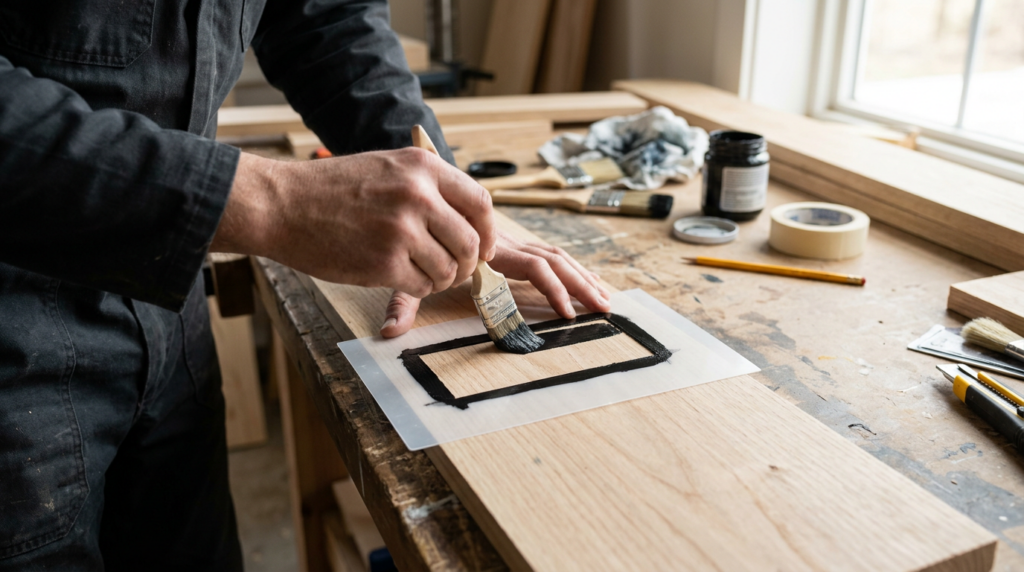
Quick answer: A 2×4 rectangle stencil helps you mark consistent shapes on canvas, fabric, or paper so your layout stays straight and repeatable. Tape it down, trace lightly with a pencil or removable marker, then confirm the rectangle is square to the canvas threads or grain before committing. Use it to place labels, borders, blocks of color, or cut lines, and erase or lift marks as you go.
Best Uses for a 2×4 Rectangle Stencil
A 2×4 rectangle is a handy “building block” size: big enough to frame a small motif, hold a name/date label, map out a color block, or create repeating bricks and tiles in a border. In needlepoint, it’s especially useful for planning where a decorative fill starts and stops so you don’t drift off-thread as the pattern grows.
If you’re doing mixed crafts, it also works for consistent tag shapes, quilt label placement, small signage, and paint-mask layouts. This 2×4 rectangle stencil is one option; in general, look for a thicker, rigid stencil that won’t flex while you trace. Flexible stencils can bow slightly, which rounds corners and throws off repeat placement.
The real value is repeatability. Once you like the spacing and alignment, you can recreate the same rectangle multiple times without re-measuring, which reduces small errors that add up across a row or border.
How to Mark It Cleanly Without Damaging Canvas or Fabric
Start by stabilizing the surface. For needlepoint canvas, lay it flat and keep the area taut; for fabric, press it first so the stencil sits flush. Use low-tack tape or a couple of small magnets on a metal board to prevent slipping. A tiny shift mid-trace can turn a rectangle into a trapezoid.
Choose a marking tool that matches your material and tolerance for cleanup. A regular pencil works well on many canvases because it’s controlled and erasable; on fabric, a removable fabric marker or chalk pencil is often safer. Keep your line light—dark lines can show through open stitches or light threads. If you plan to paint, test the marker on a scrap so you don’t end up with bleed-through or a line that won’t lift.
Trace with short strokes rather than one long drag. That keeps the stencil from creeping and helps you stop exactly at the corners.
Mini-Procedure: Marking a 2×4 Box on Needlepoint Canvas
Decide first whether you mean “2×4 inches” or “2×4 holes/threads.” On needlepoint, counting holes is often more reliable than measuring inches, because the canvas grid is what your stitches follow.
Here’s a quick needlepoint-specific workflow using 13-count canvas as an example (13 holes per inch). A 2×4-inch rectangle is about 26 holes by 52 holes. (It may land between holes depending on where you start, so treat this as a planning estimate.) Marking it cleanly usually goes like this: (1) pick a starting hole for the top-left corner, (2) count and lightly mark the other three corner holes (down ~26, across ~52, and the final corner), (3) place the stencil so its corners sit on those corner marks, (4) tape the stencil, then (5) trace lightly, and (6) re-count one edge before you start stitching or painting inside the box.
If the rectangle is for a label area, it can help to mark just the corners and one center tick on each side first. You can connect the lines later after you confirm the text or motif fits the counted space.
Troubleshooting Common Marking Problems
If your marks aren’t behaving, it’s usually a surface-stability issue, a tool issue, or a counting/alignment issue. This quick table covers the most common problems and the fastest fixes.
| Problem | Likely cause | Fix |
|---|---|---|
| Skewed rectangles | Stencil shifted while tracing; not aligned to canvas threads/grain | Tape or magnet the stencil; align one edge to a row of holes/threads; trace with short strokes |
| Bleed-through | Marker too wet; fabric/canvas not sealed; pressing too hard | Switch to pencil/chalk or a finer, drier marker; test on scrap; use lighter pressure and let marks dry before handling |
| Marks not lifting | Non-removable ink; heat set by ironing; left too long | Use a known removable tool; avoid heat until marks are gone; test removal on scrap before marking the project |
| Fuzzy corners | Stencil flexing; tracing tool too blunt; stencil not flat | Use a rigid stencil; keep it fully flat with tape/magnets; use a sharp pencil point or fine-tip marker |
| Miscounted grid alignment | Counting from the wrong hole; mixing inches with holes; losing count mid-edge | Mark corner holes first; count in groups (e.g., 5s or 10s); re-check one edge before stitching; stick to holes as the “source of truth” |
If you want a second set of eyes on sizing (inches vs. holes) or help choosing a marking tool that will lift cleanly on your materials, Blue Willow Needlepoint is a good place to get help.